
Often people consider Indians as cheap and who looks at the price while sacrificing quality. However, deep down, we Indians know that is a half truth. For us, price is indeed a major factor but rather being just outright cheap, we try to find something which is best value for money.
That’s valid for WebHosting Servers also and applies to the hosting of this website. Usually we target the black friday deals for service renewal since most web hosting companies are from the west and end of the year is when you may find the best deals all around.
LazyTourer.com is a WordPress based website with low traffic with very little space requirement. However, one major factor to consider the targeted audience, which are mostly Indian visitors. So our requirements are really low. We mainly look for a Linux Shared hosting offering cPanel (can do with DirectAdmin as well) along with a server in Indian Physical Location.
Our Present Hosting
We are presenting running this website on BigRock.IN hosting.
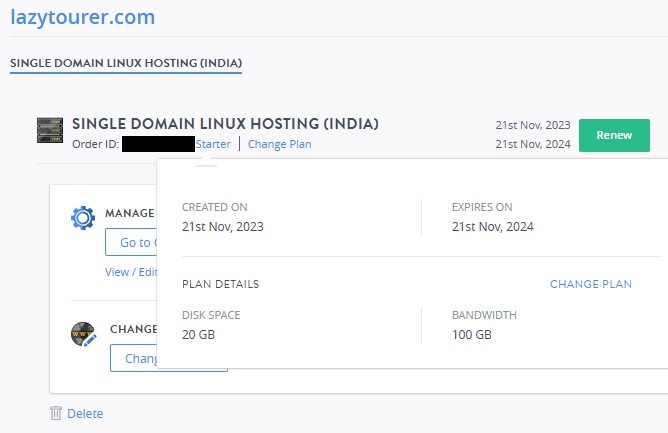
We are getting 20GB of hosting space along with 100GB bandwidth in an Indian location shared hosting server. It comes with cPanel along with Unlimited SubDomains / Database / FTP accounts but 5 emails with fair usage policy on IO / Inoods or processes.
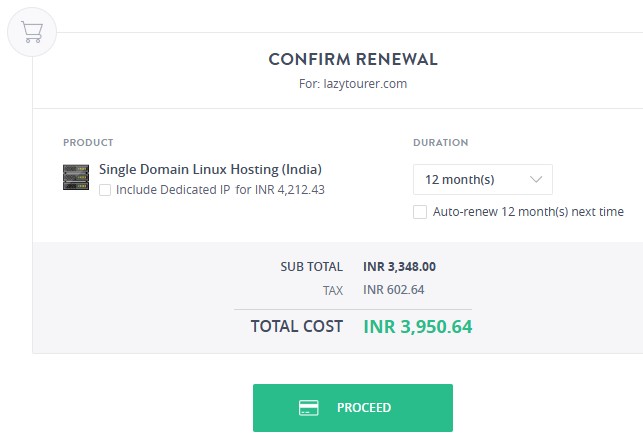
They are asking Rs. 4000/- (INR) as the renewal charge for the server for another year.
Need for Change
To be honest, new A record (subdomains) DNS Propagating time, latency from any Indian ISP or their up time, all were top notch. We had a really pleasant & flawless experience. However, raw throughput, which we commonly refer as “speed” were really poor. So the latency advantage didn’t give much benefit with “Page Speed” score of the website.
Now for a hobby project with really low visitor count, Rs. 4000/- for 20GB space and 100GB bandwidth feels too much.
The New Host
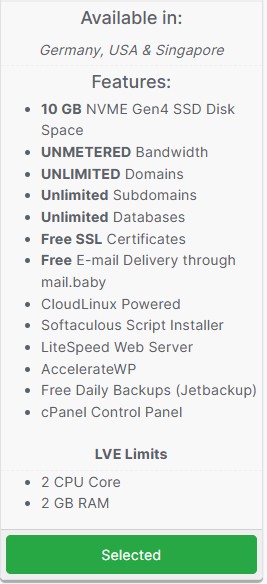
For past several years, we always managed to find an Indian location based hosting server and strike a sweet deal during this Black Friday events. However, unfortunately this year we were unable to find anything exciting offering cPanel / DirectAdmin based hosting. So we had to sacrifice the “Indian Server Location” requirement and had to look out towards Singapore or European (UK / GER / FR / NL) locations.
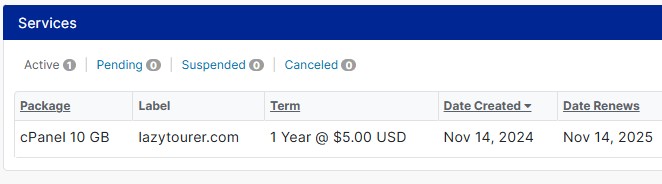
USD 5 (less than Rs. 500/-) is what we paid for our new hosting with following features,
The Migration
cPanel to cPanel Migration is pretty easy. One can proceed with the included backup tool wizard but since we have a lot of custom DNS entries, like A records for self hosted sub domains along with separate email server with custom DNS records like TXT / SVF / MX etc, we have to consider the migration manually.
Step 1 : DNS Entry Replication
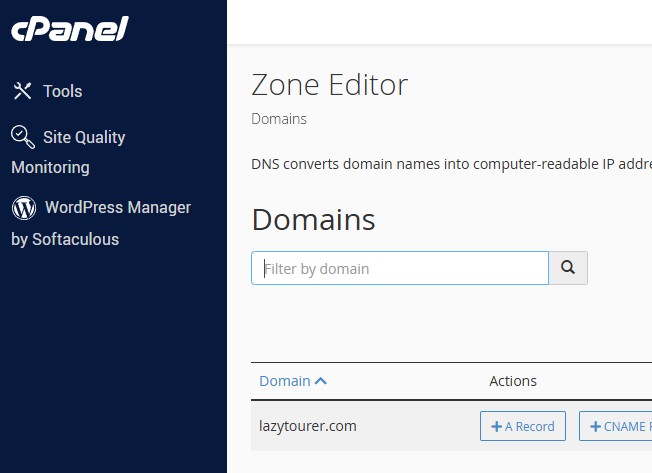
First step is to manually edit the DNS table, which is called DNS Zone in cPanel in the New Hosting cPanel to add these custom entries. This DNS table is not yet active but this is to ensure that when it get’s active, the custom entries are already present there.
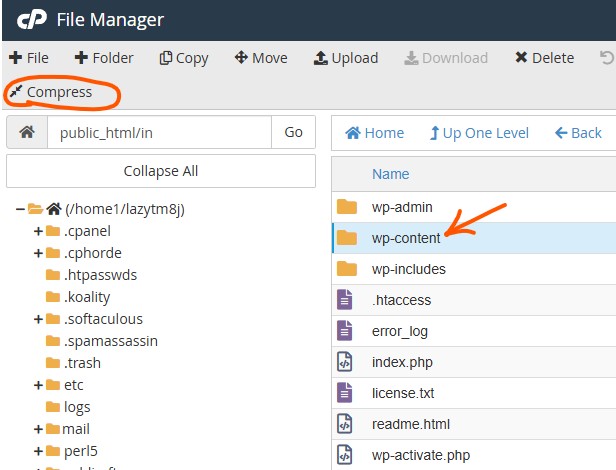
Step 2 : File System Backup
Since we are running WordPress, we need to backup of the “wp-content” directory inside the WordPress Installation. That is where user data stays. We can do that with “File Manager” of cPanel. Simply browser to the location, then select the folder to click “Compress”. This creates a zip file of that folder which we can download by right clicking on it and select the download option.
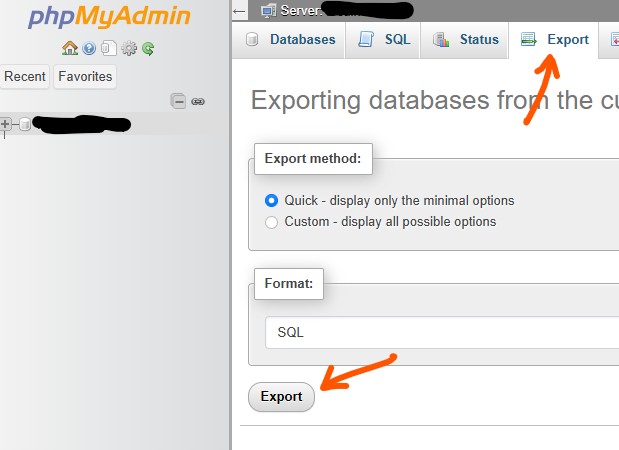
Step 3 : Database backup
We need to go to “phpmyadmin” in cPanel to select the WordPress database and then export it. This will download the database SQL in our local machine.
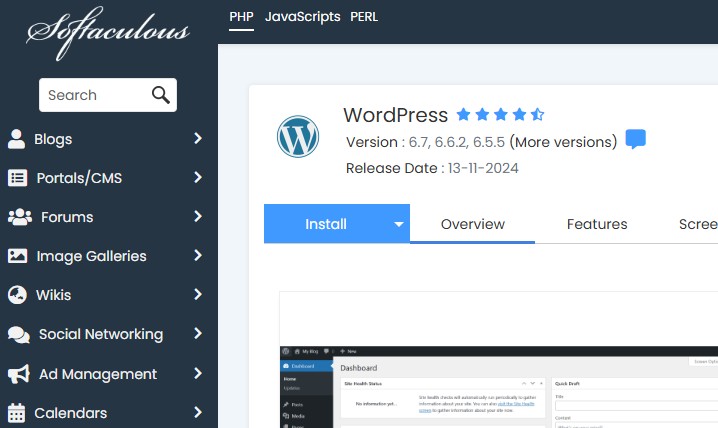
Step 4 : Install Fresh WordPress
Now with both file system and database backup in our hand, we can proceed to install a fresh copy of WordPress in our new hosting. We can do that with a single click using cPanel’s software deployment manager called “Softaculous”.
Step 5 : Restore File System & DB backup
After the installation of a fresh copy of WordPress, we can just reverse process of taking backup to upload the backup in new server cPanel and restore it within the fresh installation of wordpress.
So for file system, we need to go the File Manager and go the wordpress installation location to delete the existing “wp-content” folder to replace that with our backup folder.
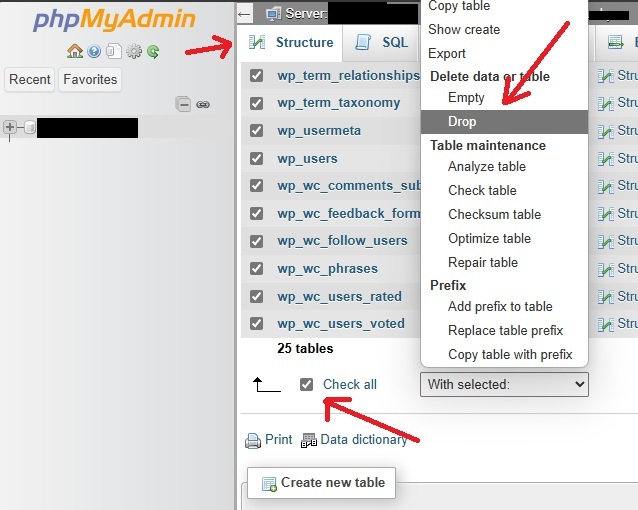
Then for database, first we need to clean the exisinting database of this fresh wordpress installation. For that we need to go to the “phpmyadmin” of new cPanel and there under databse tab, select the database, then scroll down to click “check all” select all the database content and click “drop” to delete everything inside that database.
Now inside this clean database, we can click import and there upload the database backup which we have taken from the old cPanel. Once the database backup is restored, our new cPanel hosting is now ready to accept the domain NS change over.
Last Step : NS Entry Change
Name Server in domain control panel of domain registrant needs changing now. It is really simple, just deleting the old NS entry and adding the new NS entry, which are given by the new hosting provider.
It takes a while, like almost half day for the DNS propagation to complete world wide. With this time, some visitors may end up visiting the website from old host while some may go to the new. Our website is mostly Static Content so no one can notice where they are but any comment made during this few hours may get lost in this migration since there is no way for us to sync both hosting together.
Savings of Rs. 3500/-
That’s it, with such few easy steps, we have migrated from BigRock.In hosting to this new Germany based hosting server. And while doing so, we have saved around Rs. 3500/- along with a better feature hosting.
However, we have sacrificed on latency and taken a risk with a new startup hosting company compared to a large corporation like BigRock. As you can see, our migration went smoothly and at present the website is running from the new hosting with server located in Germany. Only inconvenience that we faced in this entire process is with Payment processor. Since they are a foriegn company, they don’t have any Indian Payment getway. So payment options like UPI / NetBanking or RuPay Cards aren’t present. One needs to have an OTP less international payment enabled Visa or Master Card based Credit or Debit Card.